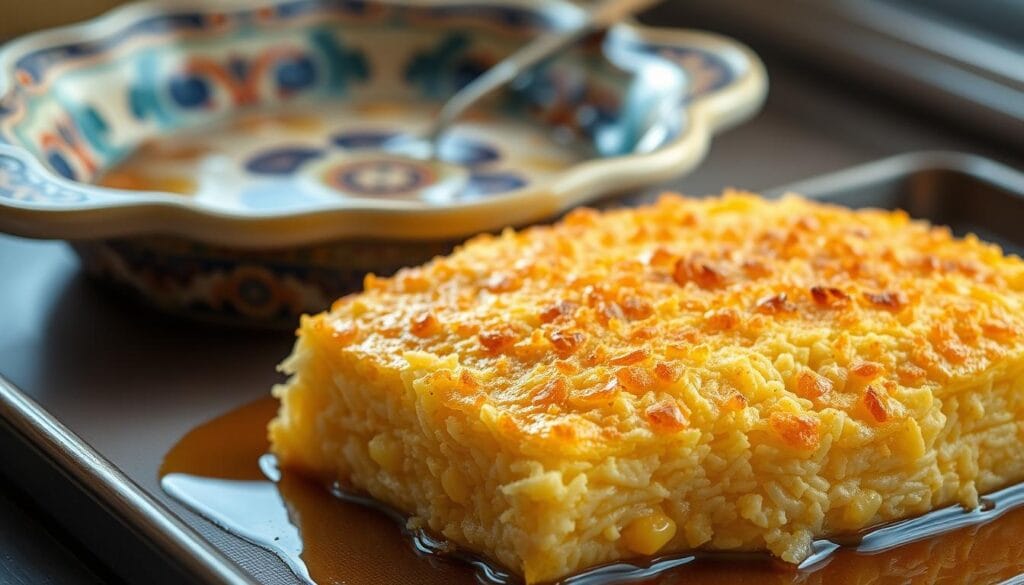
My grandmother’s kitchen was filled with the scent of warm butter and cinnamon. The golden threads of kataifi pastry looked like sunlight. That’s when I knew knafeh was more than a dessert. It was a promise of connection.
Today, I want to share this knafeh recipe with you. It’s a tradition that’s been a cornerstone of Middle Eastern celebrations for generations. Every time I make it, I feel that same warmth. It’s the kind that turns a kitchen into a shared story.
Learning the Middle Eastern dessert recipe for knafeh taught me patience and joy in the details. The cheese melts into buttery layers, and the syrup glistens like honey. It’s more than ingredients. It’s a ritual of care.
Whether you’re baking for a holiday feast or a quiet evening treat, this dish invites you to slow down. I’ll guide you through every step, from preparing the dough to the final golden-brown crunch. Let’s turn your kitchen into a space of comfort and discovery. Because every bite should taste like home.
FAQ
What is knafeh, and what makes it special?
Knafeh is a Middle Eastern dessert. It’s made with shredded phyllo or semolina dough, cheese, and sweet syrup. The mix of crispy, soft, and gooey textures makes it special.
How do I make knafeh from scratch?
To make knafeh, start with kataifi pastry and a cheese filling. Layer them in a dish and bake until golden. Then, pour syrup over it. Follow my detailed recipe for help!
Can I use different types of cheese in my knafeh recipe?
Yes! You can use nabulsi or akkawi cheese, or a mix of mozzarella and ricotta. Make sure the cheese melts well.
What is the best way to store leftover knafeh?
Cool leftover knafeh completely. Then, cover it with plastic wrap or put it in an airtight container. Store it in the fridge for 4-5 days. Reheat it gently to keep it tasty.
How can I make a healthier version of knafeh?
Use less sugar in the syrup or honey. For gluten-free, try shredded rice paper or ground nuts instead of kataifi.
What are some traditional accompaniments to serve with knafeh?
Enjoy knafeh with Arabic coffee or mint tea. Garnish it with crushed pistachios or edible rose petals for extra flavor and beauty.
What cooking methods can I use besides baking for knafeh?
You can fry knafeh for a crispy texture. Press the mixture in a pan and fry it in clarified butter. It’s a delicious, extra-crispy treat.
Are there variations of knafeh in different cultures?
Yes, there are many knafeh variations. For example, Palestine’s Nabulsieh uses local cheese. Turkey’s künefe is in individual pans, and Lebanon’s is rolled.
How important is the syrup in knafeh?
The syrup is very important. It adds sweetness and flavor, with notes from orange blossom or rose water. Pouring the syrup at the right time is key.
Can I find knafeh recipes online?
Definitely! You can find many great knafeh recipes online. Social media and cooking websites are full of authentic recipes. Share your own experiences too!
What is Knafeh?
When I first tried knafeh, it felt like a warm hug. It’s more than just food; it’s a family tradition passed down through generations. The traditional knafeh recipe is simple: shredded dough, cheese, and syrup. But what makes it special is how it can change and adapt.
Overview of Knafeh
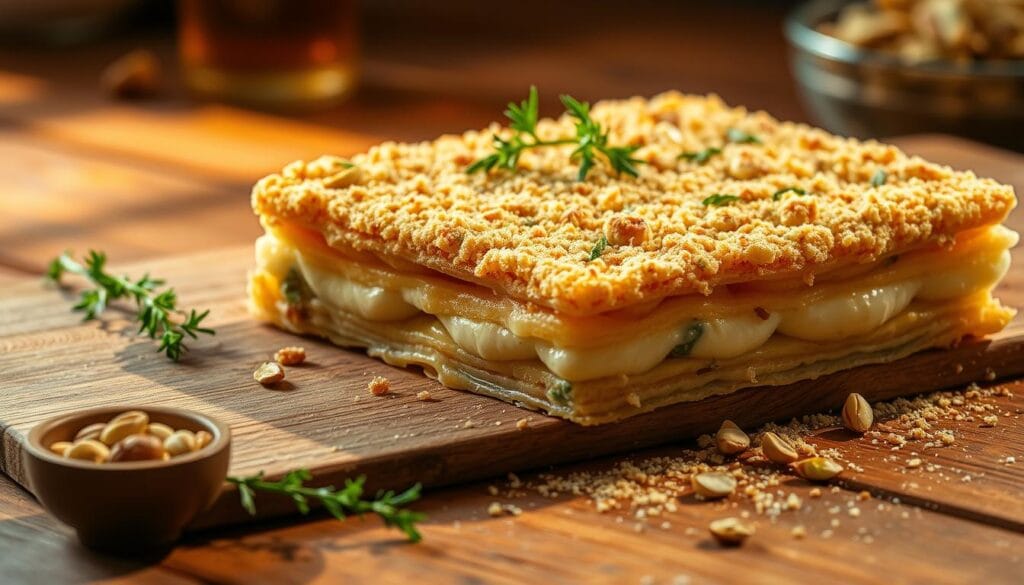
Knafeh is a mix of textures. Golden kataifi dough wraps around melted cheese, all covered in cinnamon-spiced syrup. It’s perfect for sharing, enjoyed at celebrations or as a cozy treat. The dough holds the cheese, and the syrup adds a sweet touch that stays with you.
Different Variations of Knafeh
Knafeh changes in different places:
| Region | Style | Signature Touch |
|---|---|---|
| Palestine | Nabulsi knafeh | Orange blossom syrup & red food coloring |
| Lebanon | Rolled knafeh | Served in a pita “sandwich” for on-the-go enjoyment |
| Turkey | Künefe | Served molten-hot in individual pans |
| Egypt | Nuts-centric | Walnuts or pistachios replace part of the cheese |
Every version has its own story. From the sweet Palestinian classic to the nutty Egyptian twist. Trying these variations makes mastering the traditional knafeh recipe even more rewarding. It shows how one dish can connect different cultures.
Key Ingredients for Knafeh
Let’s explore the authentic knafeh recipe—the ingredients that make it special. Each part is crucial for that perfect melt-in-your-mouth feel.
Kataifi Pastry
This shredded phyllo dough is the main attraction. To keep it soft, cover it with a damp cloth. Look for kataifi or knafeh dough to get the right texture.
Cheese Options
- Nabulsi or Akkawi cheese: These cheeses give knafeh its salty, creamy taste. For a different twist, mix mozzarella + ricotta for a stretchy center.
- Sweet semolina pudding (ashta): This creamy option is great for a lighter version.
Syrup and Flavorings
Golden syrup is the final touch. I use a 2:1 sugar-to-water mix with rose or orange blossom water. Add a bit of lemon juice to avoid crystals. Let it cool before drizzling for the best taste.
Step-by-Step Knafeh Preparation
“I remember the first time I made knafeh—I was nervous about getting it right, but breaking it down into steps made all the difference.”
Start with the kataifi. Gently pull the strands apart with your hands. This keeps them light and prevents clumping. Then, toss them in melted clarified butter until every piece shines.Trust me, this step gives that golden crunch everyone loves.
Preparing the Kataifi Pastry
1. Break the kataifi strands into 1-inch pieces.
2. Melt butter and mix it into the pastry until fully coated.
3. Press two-thirds of this mixture into the bottom of a greased pan. Let it rest while you prepare the filling.
Making the Cheese Mixture
If using traditional cheese, soak it in water for 30 minutes to reduce saltiness. Drain, squeeze out excess moisture, then mix with a dash of cinnamon and sugar. For a melt-in-your-mouth texture, add a spoon of ricotta if using mozzarella.
Assembling the Knafeh
1. Spread the cheese evenly over the pastry base.
2. Top with the remaining buttered kataifi, pressing gently to seal the layers.
3. Bake or fry as your recipe guides. The key? Patience—let it cool slightly before cutting.
This method ensures every bite holds together, crispy on the outside and creamy within. Keep practicing—soon you’ll masterhow to make knafehthat feels like a hug in dessert form.
Cooking Methods for Knafeh
Choosing the right cooking method can make your best knafeh recipe unforgettable. I’ve tried both oven-baking and frying to find the perfect mix of crispiness and flavor.

Baking in the Oven
First, preheat your oven to 350°F (175°C). Line a pan with parchment paper and spread the mixture evenly. Bake for 45–50 minutes, covering with foil for the first 30 minutes to prevent burning.
When the edges turn golden and the cheese is bubbly, uncover the dish. This lets the top crisp up beautifully. I love how the oven method ensures even cooking without requiring constant attention.
Frying Technique
- Heat clarified butter in a skillet over medium heat. Work in small batches to avoid overcrowding.
- Cook for 3–4 minutes on each side until deeply golden. This method creates a crunchy exterior that’s irresistible when dipped in syrup.
- Perfect for small portions, frying adds a rich buttery depth that’s a signature of many best knafeh recipe variations.
Both methods have their magic. Baking is ideal for a family-style dessert, while frying shines for individual servings. Whichever you choose, always brush the finished knafeh with syrup immediately—it soaks in best while still warm. Trust your instincts, and don’t hesitate to adjust cooking times based on your equipment. After all, the best knafeh recipe is one that feels like home.
How to Make Knafeh Syrup
The syrup is the heart of homemade knafeh. It wraps each bite in warmth and aroma. Finding the right balance is crucial. The syrup should be sweet but not too sweet, fragrant but not overpowering.
Ingredients for the Syrup
| Ingredient | Quantity |
|---|---|
| Sugar | 1½ cups |
| Water | 1 cup |
| Lemon juice | 1 tablespoon |
| Orange blossom water or rose water | 1–2 teaspoons |
Cooking Instructions
- In a saucepan, mix sugar and water over medium heat. Stir until sugar dissolves.
- Bring to a boil, then lower heat to a simmer. Let it bubble for 10 minutes until it thickens slightly.
- Remove from heat. Stir in lemon juice to prevent crystals. Add floral water slowly, tasting as you go.
- Let the syrup cool completely before using. It should be chilled but not frozen when poured over warm knafeh.
“Pouring cool syrup over hot pastry lets it soak in gently without sogginess.”
Being patient is key. A syrup made in a rush can overpower the dish or crystallize. Trust your senses and adjust the floral essences to your liking. This syrup is more than a topping; it’s the love that holds the dish together.
Serving Suggestions for Knafeh
When your easy knafeh recipe is ready, how you serve it can make it unforgettable. Here’s how I make every gathering feel like grandma’s kitchen.
Traditional Accompaniments
Let the dish shine with these simple touches:
- Flip the hot knafeh onto a serving plate for a golden crust reveal.
- Drizzle warm syrup generously while the pastry is still warm to let it soak in.
- Garnish with crushed pistachios for crunch and edible rose petals for elegance.
“In Middle Eastern tradition, we serve knafeh family-style—sharing from one platter. It’s a sweet reminder that connection tastes better when we’re together.”
Pairing with Beverages
Balance the richness with these drinks:
| Beverage | Pairing Reason | Serving Tip |
|---|---|---|
| Arabic Coffee with Cardamom | Cuts sweetness with aromatic spice | Serve in small cups to avoid overwhelming the palate |
| Mint Tea | Herbaceous freshness contrasts with creaminess | Add fresh mint leaves for a vibrant touch |
| Rose Water Lemonade | Floral notes echo the knafeh’s syrup | Chill glasses for summer gatherings |
These small details turn your easy knafeh recipe into a celebration. Remember—presentation is love in action. Serve with warmth, and watch smiles bloom.
Tips for Perfecting Your Knafeh
Over years of trying out knafeh recipe techniques, I’ve found out how small details can make a big difference. Let’s tackle the challenges and secrets that turn a good dish into an amazing one.
Common Mistakes to Avoid
- Over-salting cheese: Always soak akkawi or nabulsi cheese to balance saltiness.
- Rushing syrup: Simmer until syrup thickens—it’s easy to overlook this step but critical for flavor.
- Greasy layers: Pat kataifi strands dry before layering to avoid soggy textures.
Techniques for Crispiness
Master these tricks to achieve golden-brown perfection:
- Preheat your oven fully—no shortcuts! A cold oven leads to limp pastry.
- Use clarified butter (ghee) for superior browning without burning.
- Bake on a cast-iron pan for even heat penetration. I’ve found this simple swap makes all the difference.
For the final touch, pour warm syrup immediately after baking while the layers are hot. This lets every strand absorb just enough sweetness without getting mushy. If you’re new to halal meal recipes, exploring community-approved methods can inspire adjustments. Remember—patience and practice are your best allies. Each mistake is a step closer to your perfect bite.
Storing Leftover Knafeh
Homemade knafeh is so tempting, leftovers are rare in my kitchen. But when they do happen, storing them right keeps every bite perfect. Here’s how to keep your knafeh fresh and tasty for days.

Refrigeration Methods
Cool your homemade knafeh completely before storing. Once it’s ready:
- Wrap tightly in plastic wrap or transfer to an airtight container.
- Store in the refrigerator—this keeps it fresh for up to 5 days.
Avoid stacking layers directly; separate with parchment paper to prevent sogginess.
Reheating Tips
Bring knafeh back to life with these tricks:
- Oven method: Preheat to 300°F (150°C). Place on a baking sheet, cover with foil for 10 minutes, then remove foil and bake 5 more minutes for crispiness.
- Microwave method: Heat 30 seconds at a time—check texture to avoid dryness.
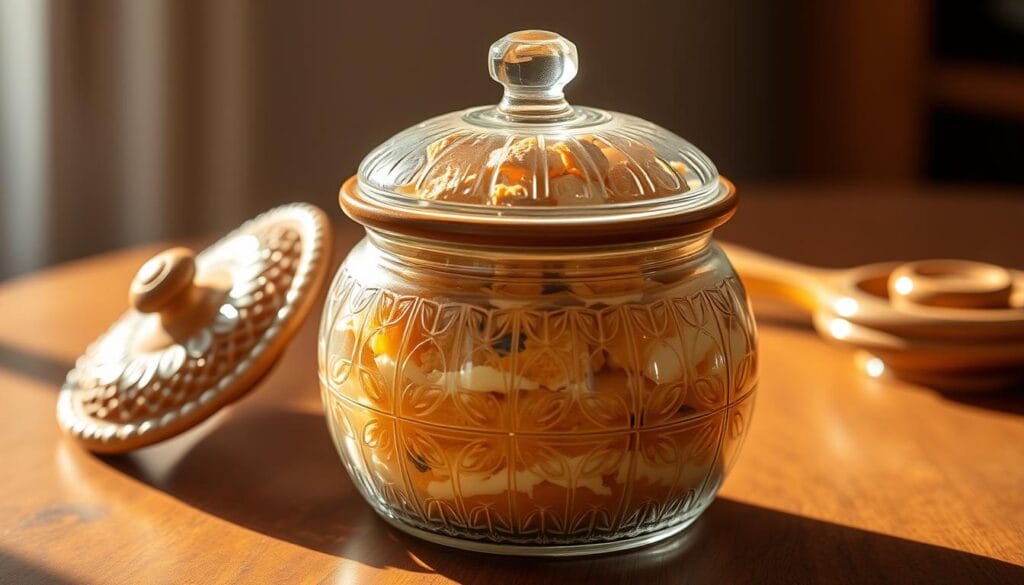
Before serving, drizzle with extra syrup kept chilled in a jar. This adds a burst of freshness!
Every time I reheat it, the buttery aroma and syrup’s sweetness remind me why homemade knafeh is worth savoring slowly. A little care in storage lets you enjoy it just like day one.
Knafeh Around the World
Imagine walking through bustling markets in the Middle East. The scent of warm cheese and syrup fills the air. The traditional knafeh recipe is more than a dessert—it connects cultures and generations. Let’s see how this sweet tradition has spread across the globe.
Popularity in Middle Eastern Countries
In Palestine, knafeh Nabulsieh is a beloved treat. Nablus shops have made it for centuries. My Palestinian friend once told me,
“Every bite of that cheese-rich pastry feels like a family secret passed down like a heirloom.”
Jordanians enjoy it at weddings, while Turks serve it hot in metal pans. These traditions are stories of community and heritage.
Global Variations of Knafeh
- Balkans: North Macedonian kadaif uses honey and walnuts, showing Ottoman influence.
- Greece: Kataifi swaps cheese for nuts, adding a Mediterranean touch.
- Modern Twists: Cafés in New York or Paris try mascarpone or seasonal fruits. They show the traditional knafeh recipe can evolve while staying true.
Wherever it’s made, the crisp-syrupy contrast is key. It’s a dessert that says, “You’re home,” even when you’re far away.
Healthier Alternatives to Traditional Knafeh
Even the most cherished Middle Eastern dessert recipes can adapt to modern needs. I’ve spent hours perfecting ways to savor knafeh while honoring dietary choices—here’s how to make it work for you.
Low-Sugar Options
- Swap sugar syrup with a 2:1 honey-to-water blend for natural sweetness.
- Use half the usual sugar and add vanilla bean or orange zest to amplify flavor without extra sugar.
- Try monk fruit sweetener in the cheese layer—its caramel-like notes mimic traditional richness.
Gluten-Free Variations
Gluten-free kataifi alternatives exist! Here’s my tested approach:
- Shred rice paper into thin strands and soak briefly in water—then pat dry for a delicate crunch.
- Crush gluten-free cookies like Rice Krispie Treats and mix with melted coconut oil for a crispy base.
Every tweak keeps the soul of this Middle Eastern dessert recipe intact. Adjust, experiment, and share your creations—because good food should never exclude anyone.
Join the Knafeh Community
When you make knafeh, you’re not just baking. You’re connecting with generations of bakers. Let’s keep this tradition alive by celebrating our journey together.
Post photos of your creations on Instagram with #homemadeKnafeh or #knafehlove. Seeing your layered cheese and crispy threads will inspire new ideas. Even a simple caption about your first try or a favorite family recipe helps build this shared love for how to make knafeh.
Connect with Bakers Worldwide
Join groups like the “Middle Eastern Baking Lovers” Facebook community where members swap tips. You might discover a trick for keeping cheese moist or find a gluten-free substitution shared by someone in Jordan or Texas. YouTube channels like “Lebanese Kitchen” or “Syrian Food Journey” often highlight regional twists—watch how they layer kataifi for extra crunch.
Every recipe swap, hashtag, or question asked turns how to make knafeh into more than a dessert—it becomes a conversation. Your story matters. What will your next batch teach someone else? Let’s keep this tradition sweet and growing together.
We are interested in your feedback
Catchy recipe
Sounds delicious
Original idea
Yummy
Healty and nutritious
Well done
Interesting
Just good

